DIY: How to make a personalized mug for Mother’s Day with markers
If you think it’s too late to get a personalized mug for Mother’s Day, you’re wrong. You can make one at home and even make it a fun activity for the kids.
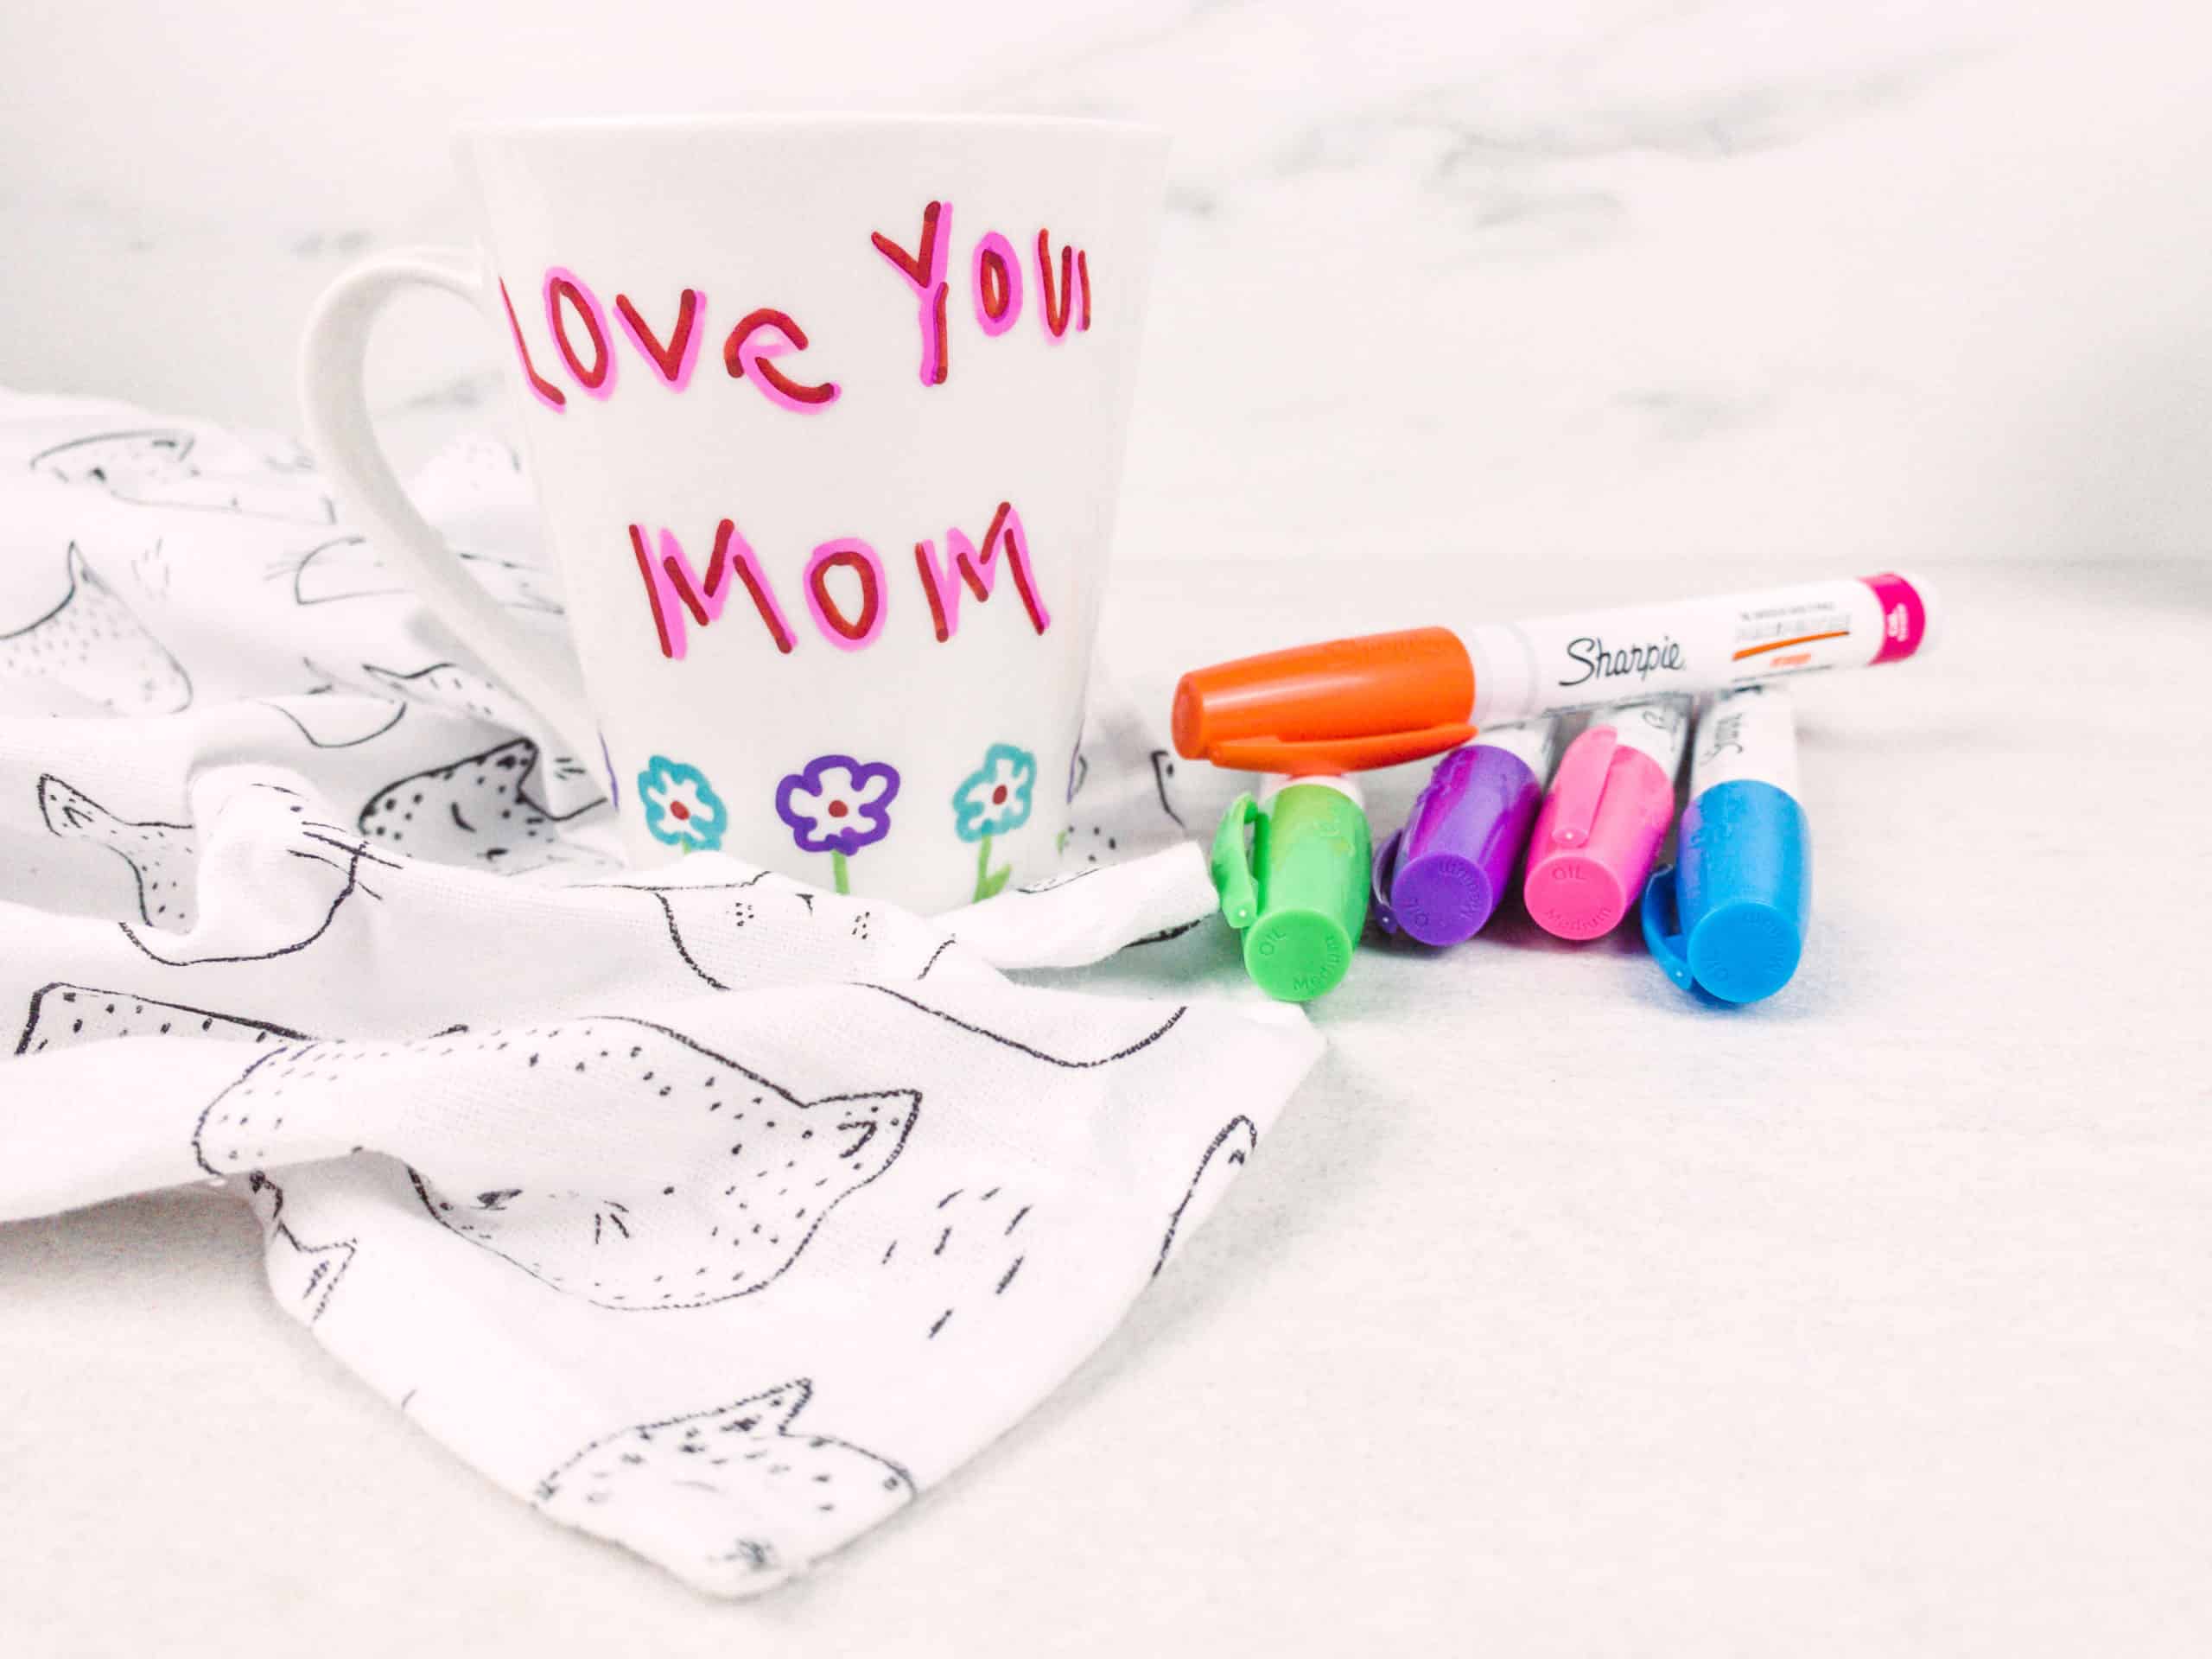 You can customize anything that is oven-safe: bowls, mugs, and even ceramic plates. The best part? I have a special trick so the designs, name or message won’t fade away. This easy DIY is great even for the youngest ones in the family.
DIY: How to decorate a personalized mug for Mother’s Day
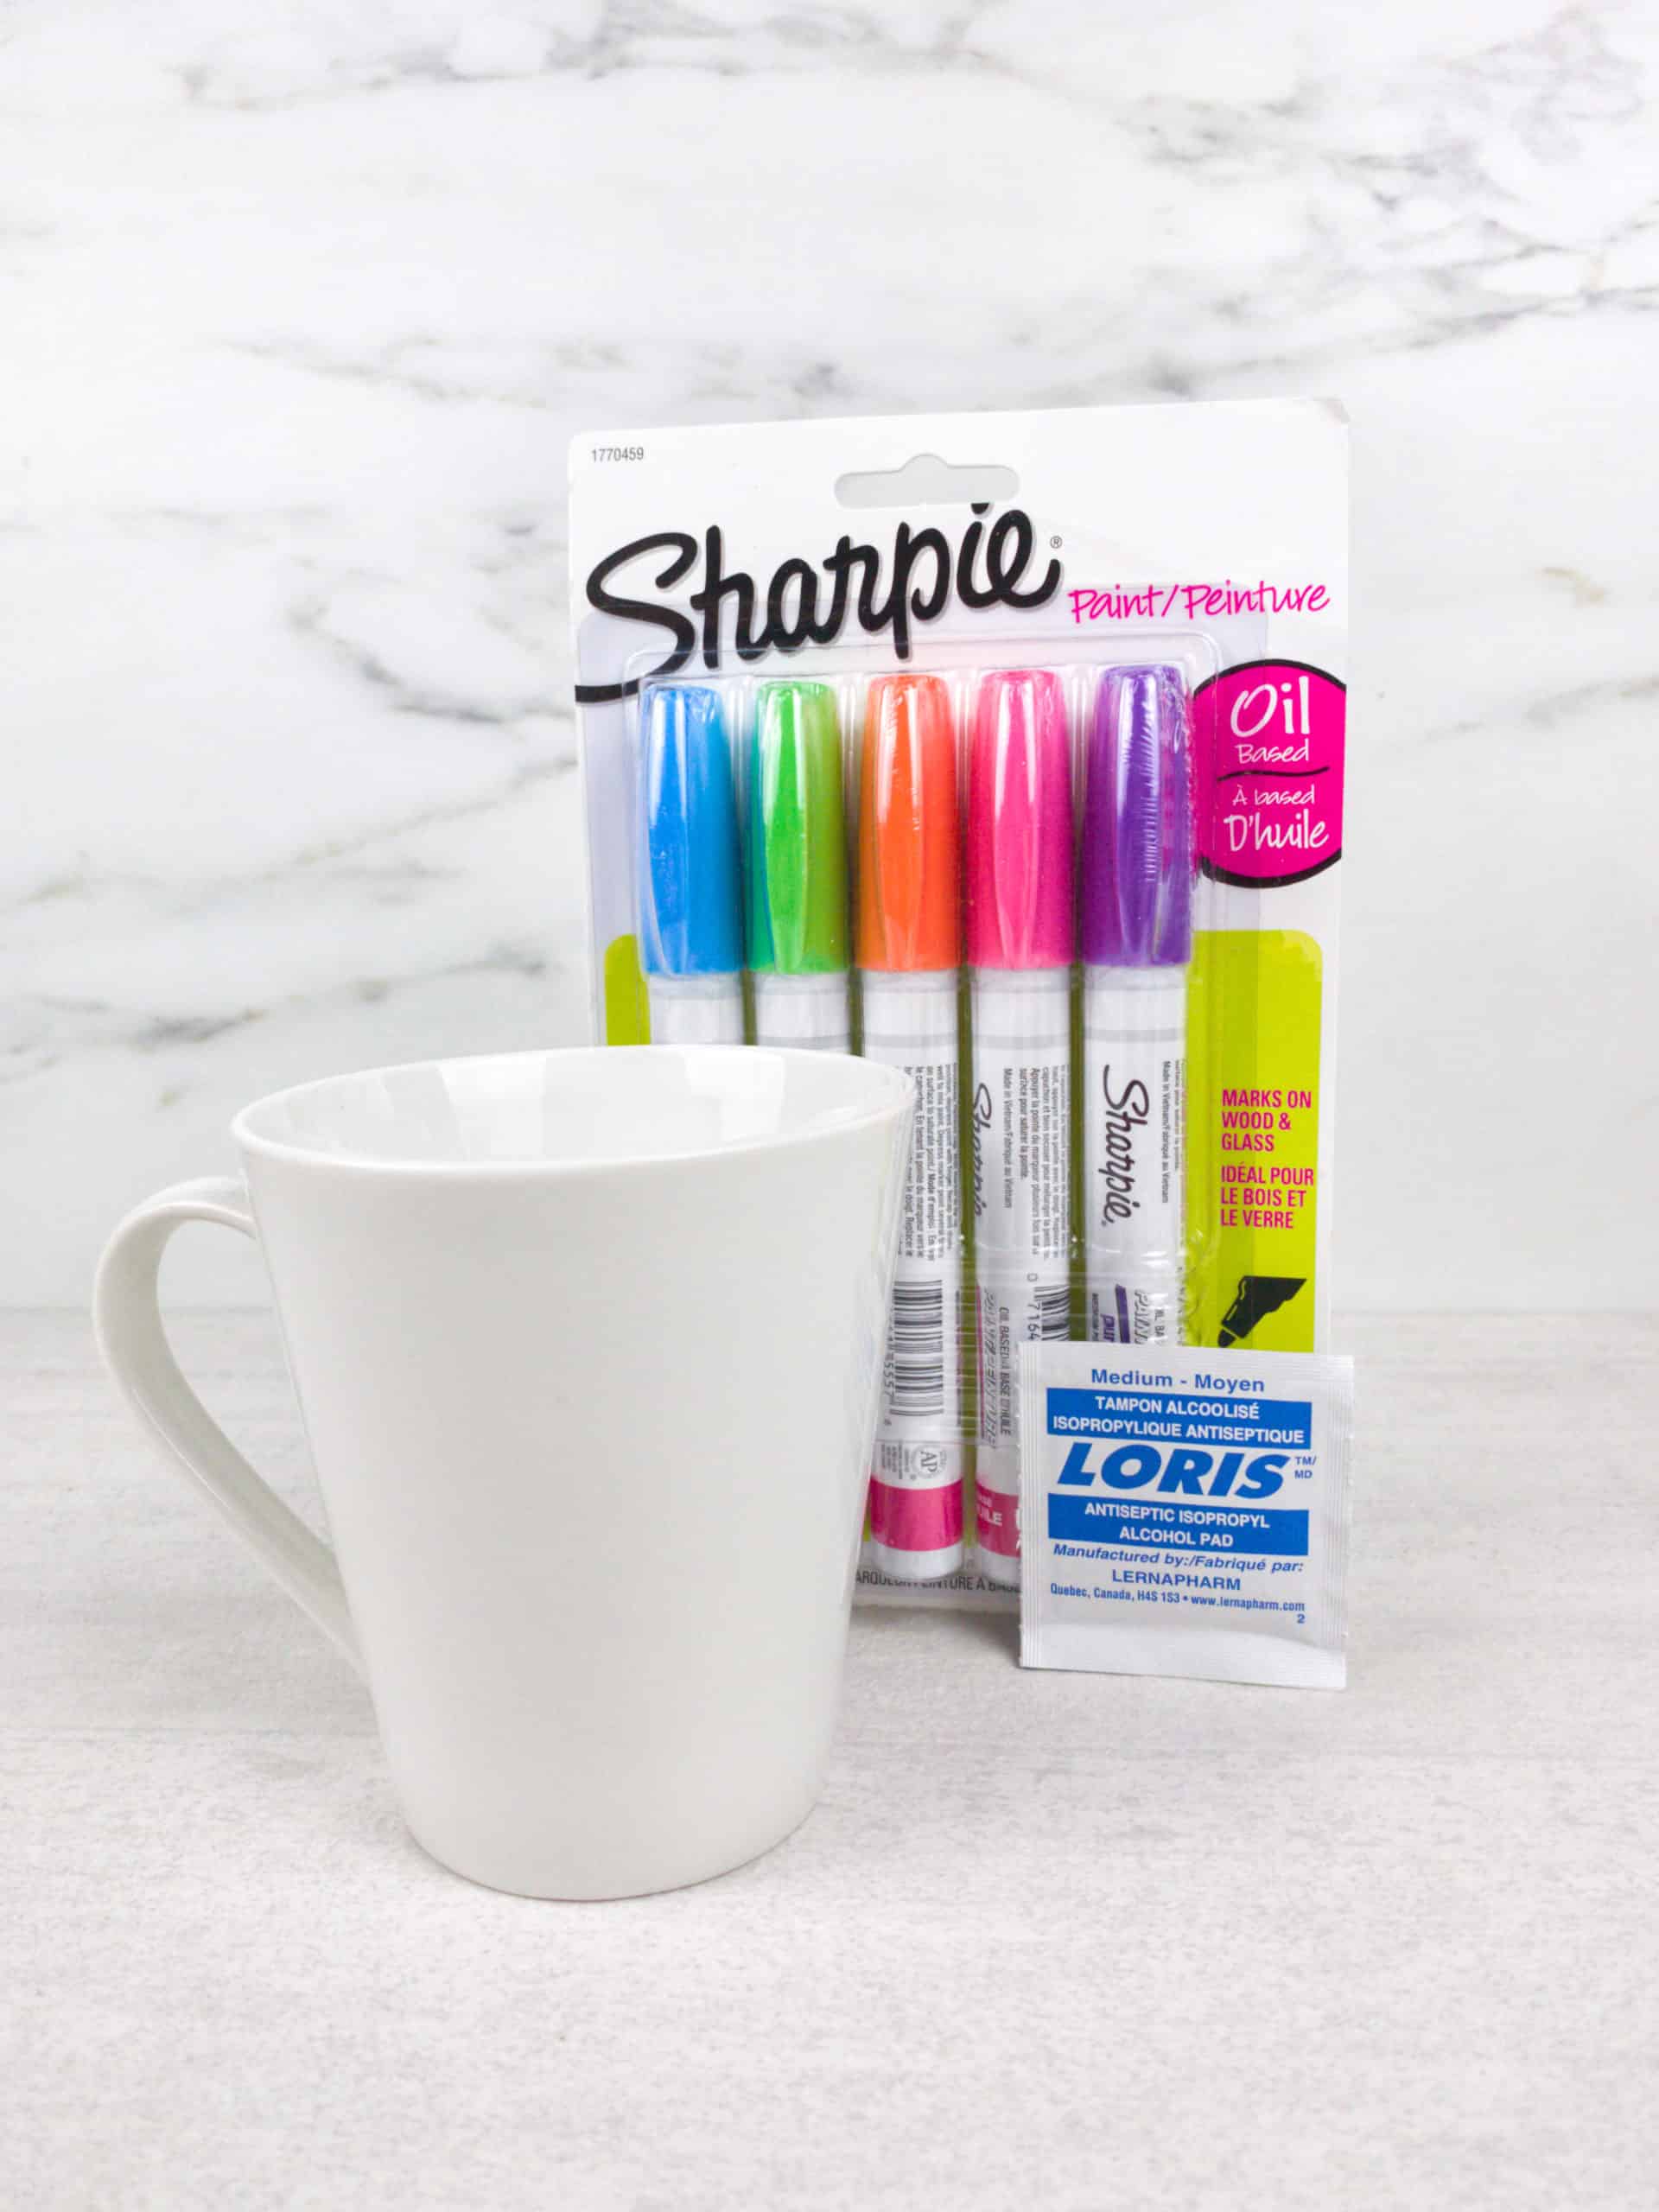
You will need:
- White mug (if you don’t have any at home, you can get them at the Dollar Store, Target, Walmart or even the supermarket)
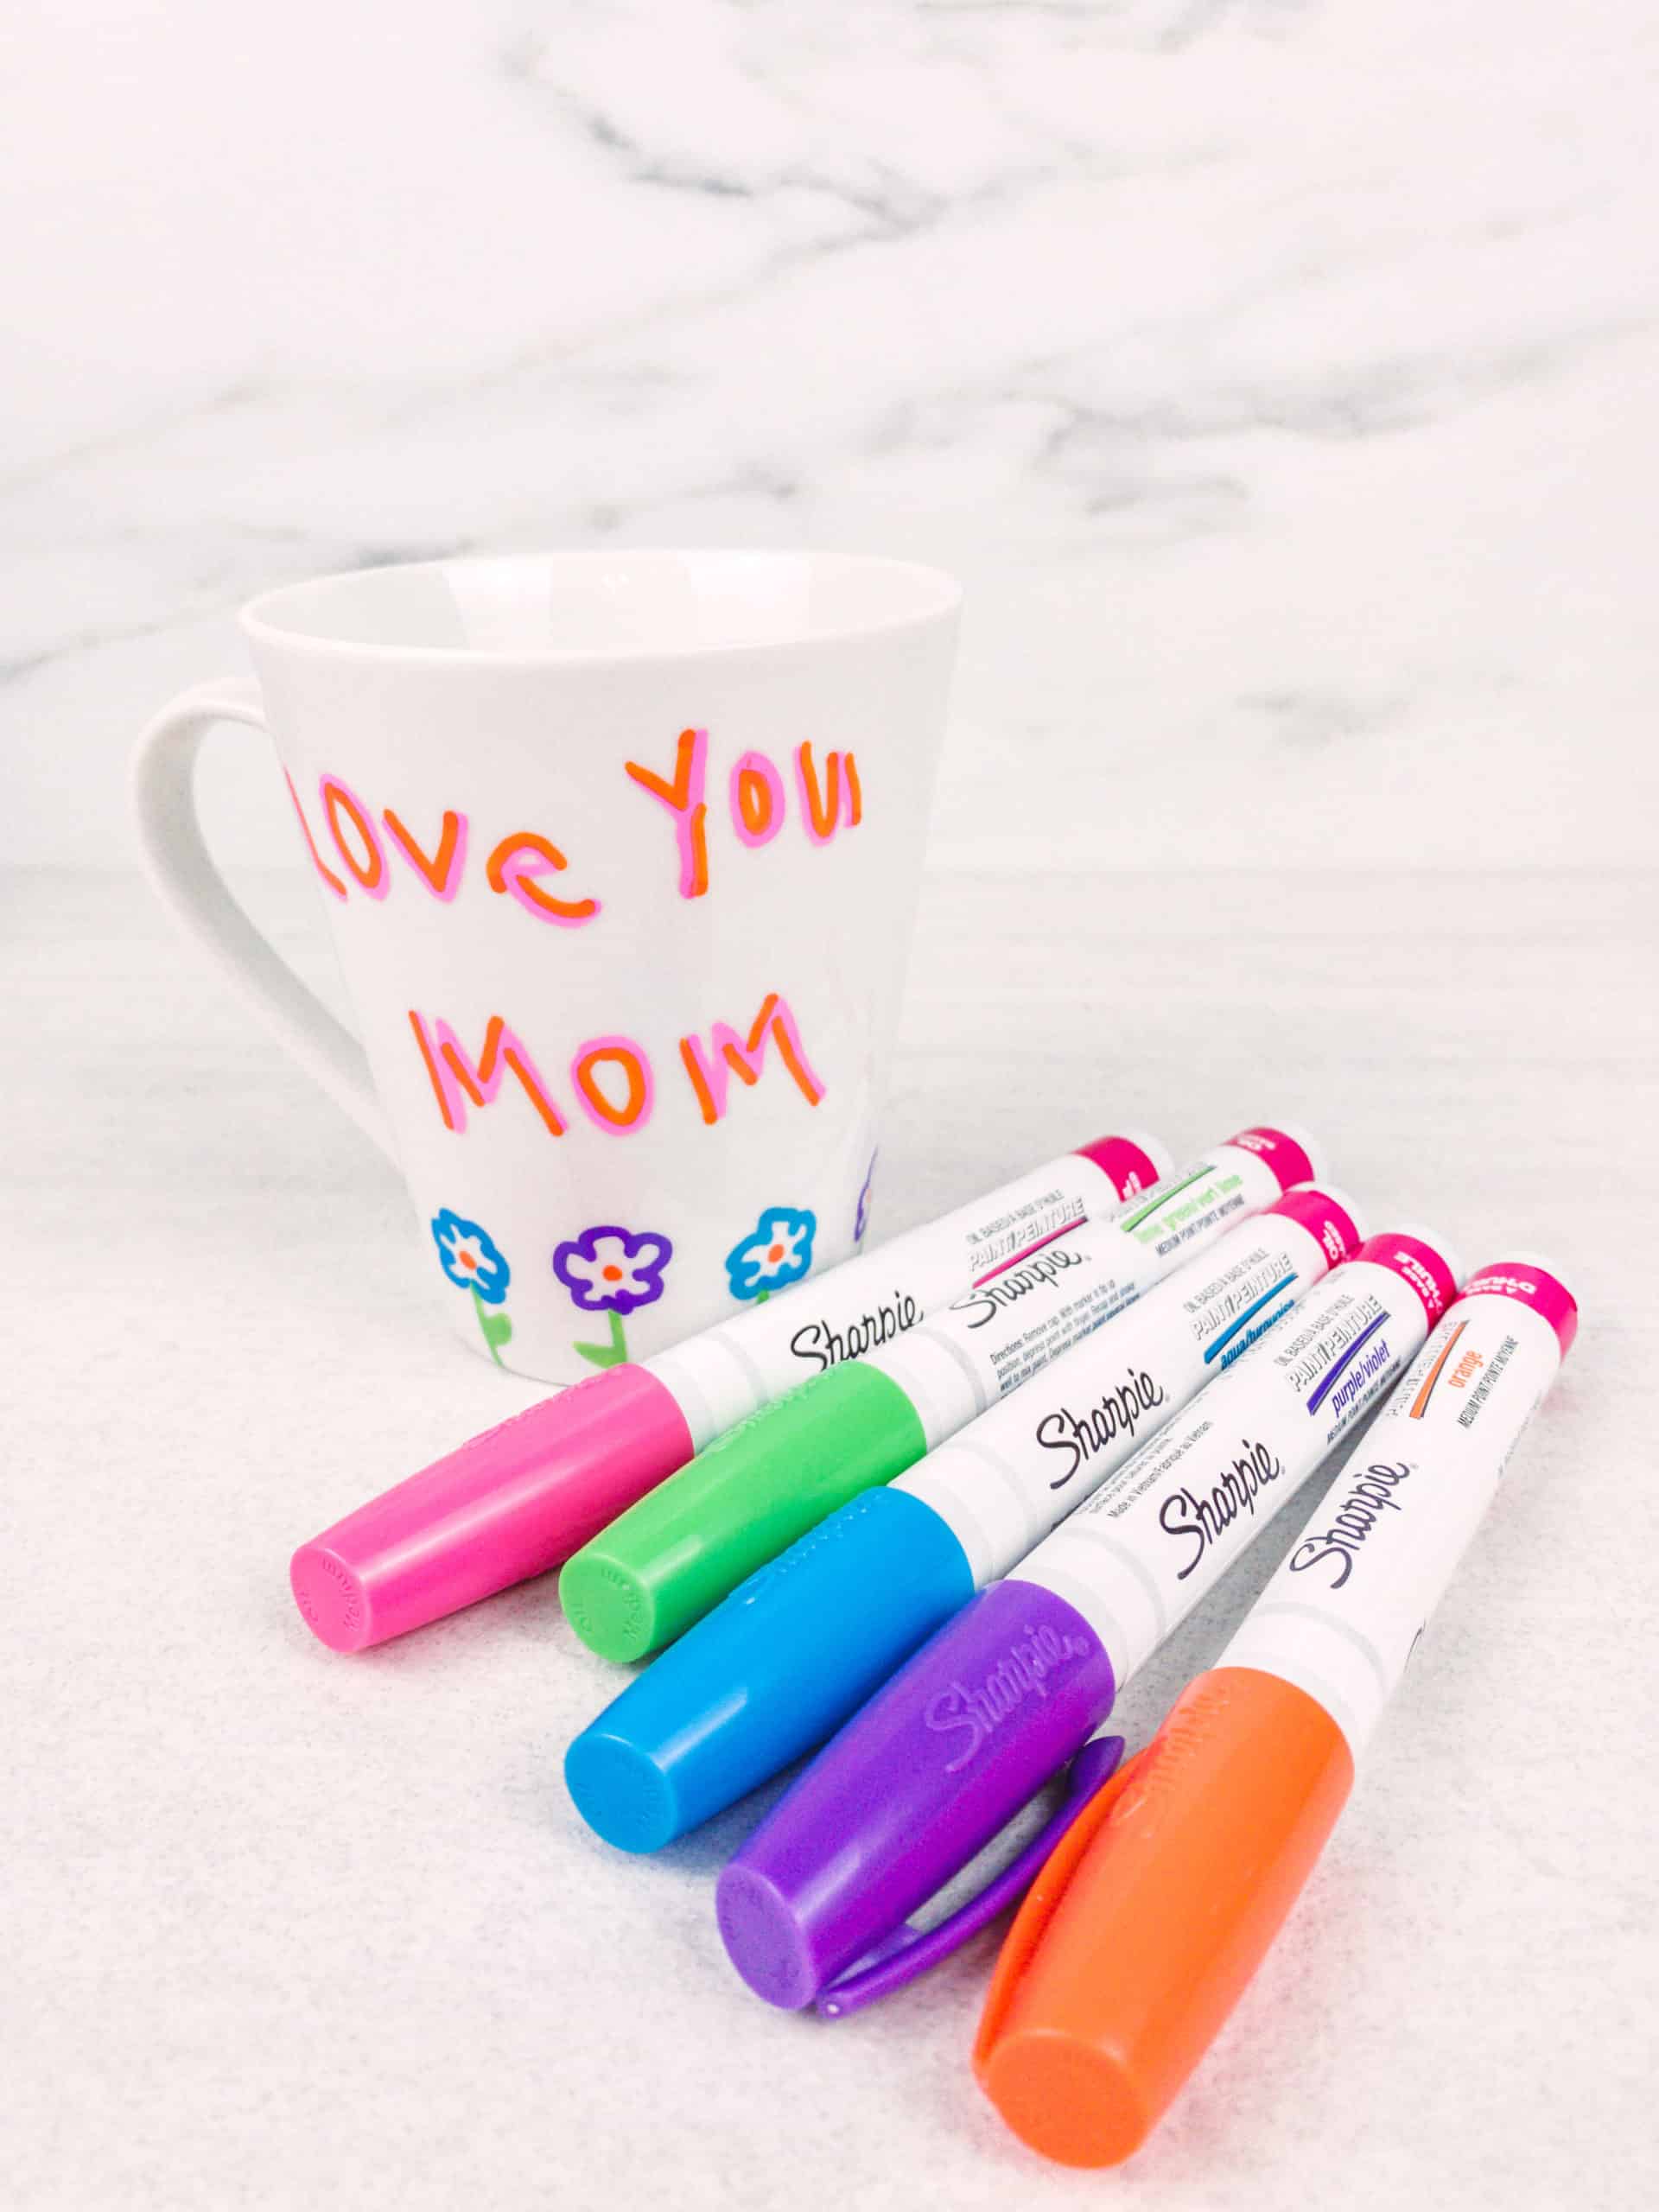
- Sharpie Oil Based markers (Important: They MUST be oil-based)
- Alcohol wipe or cotton ball soaked in rubbing alcohol
- Oven
Instructions:
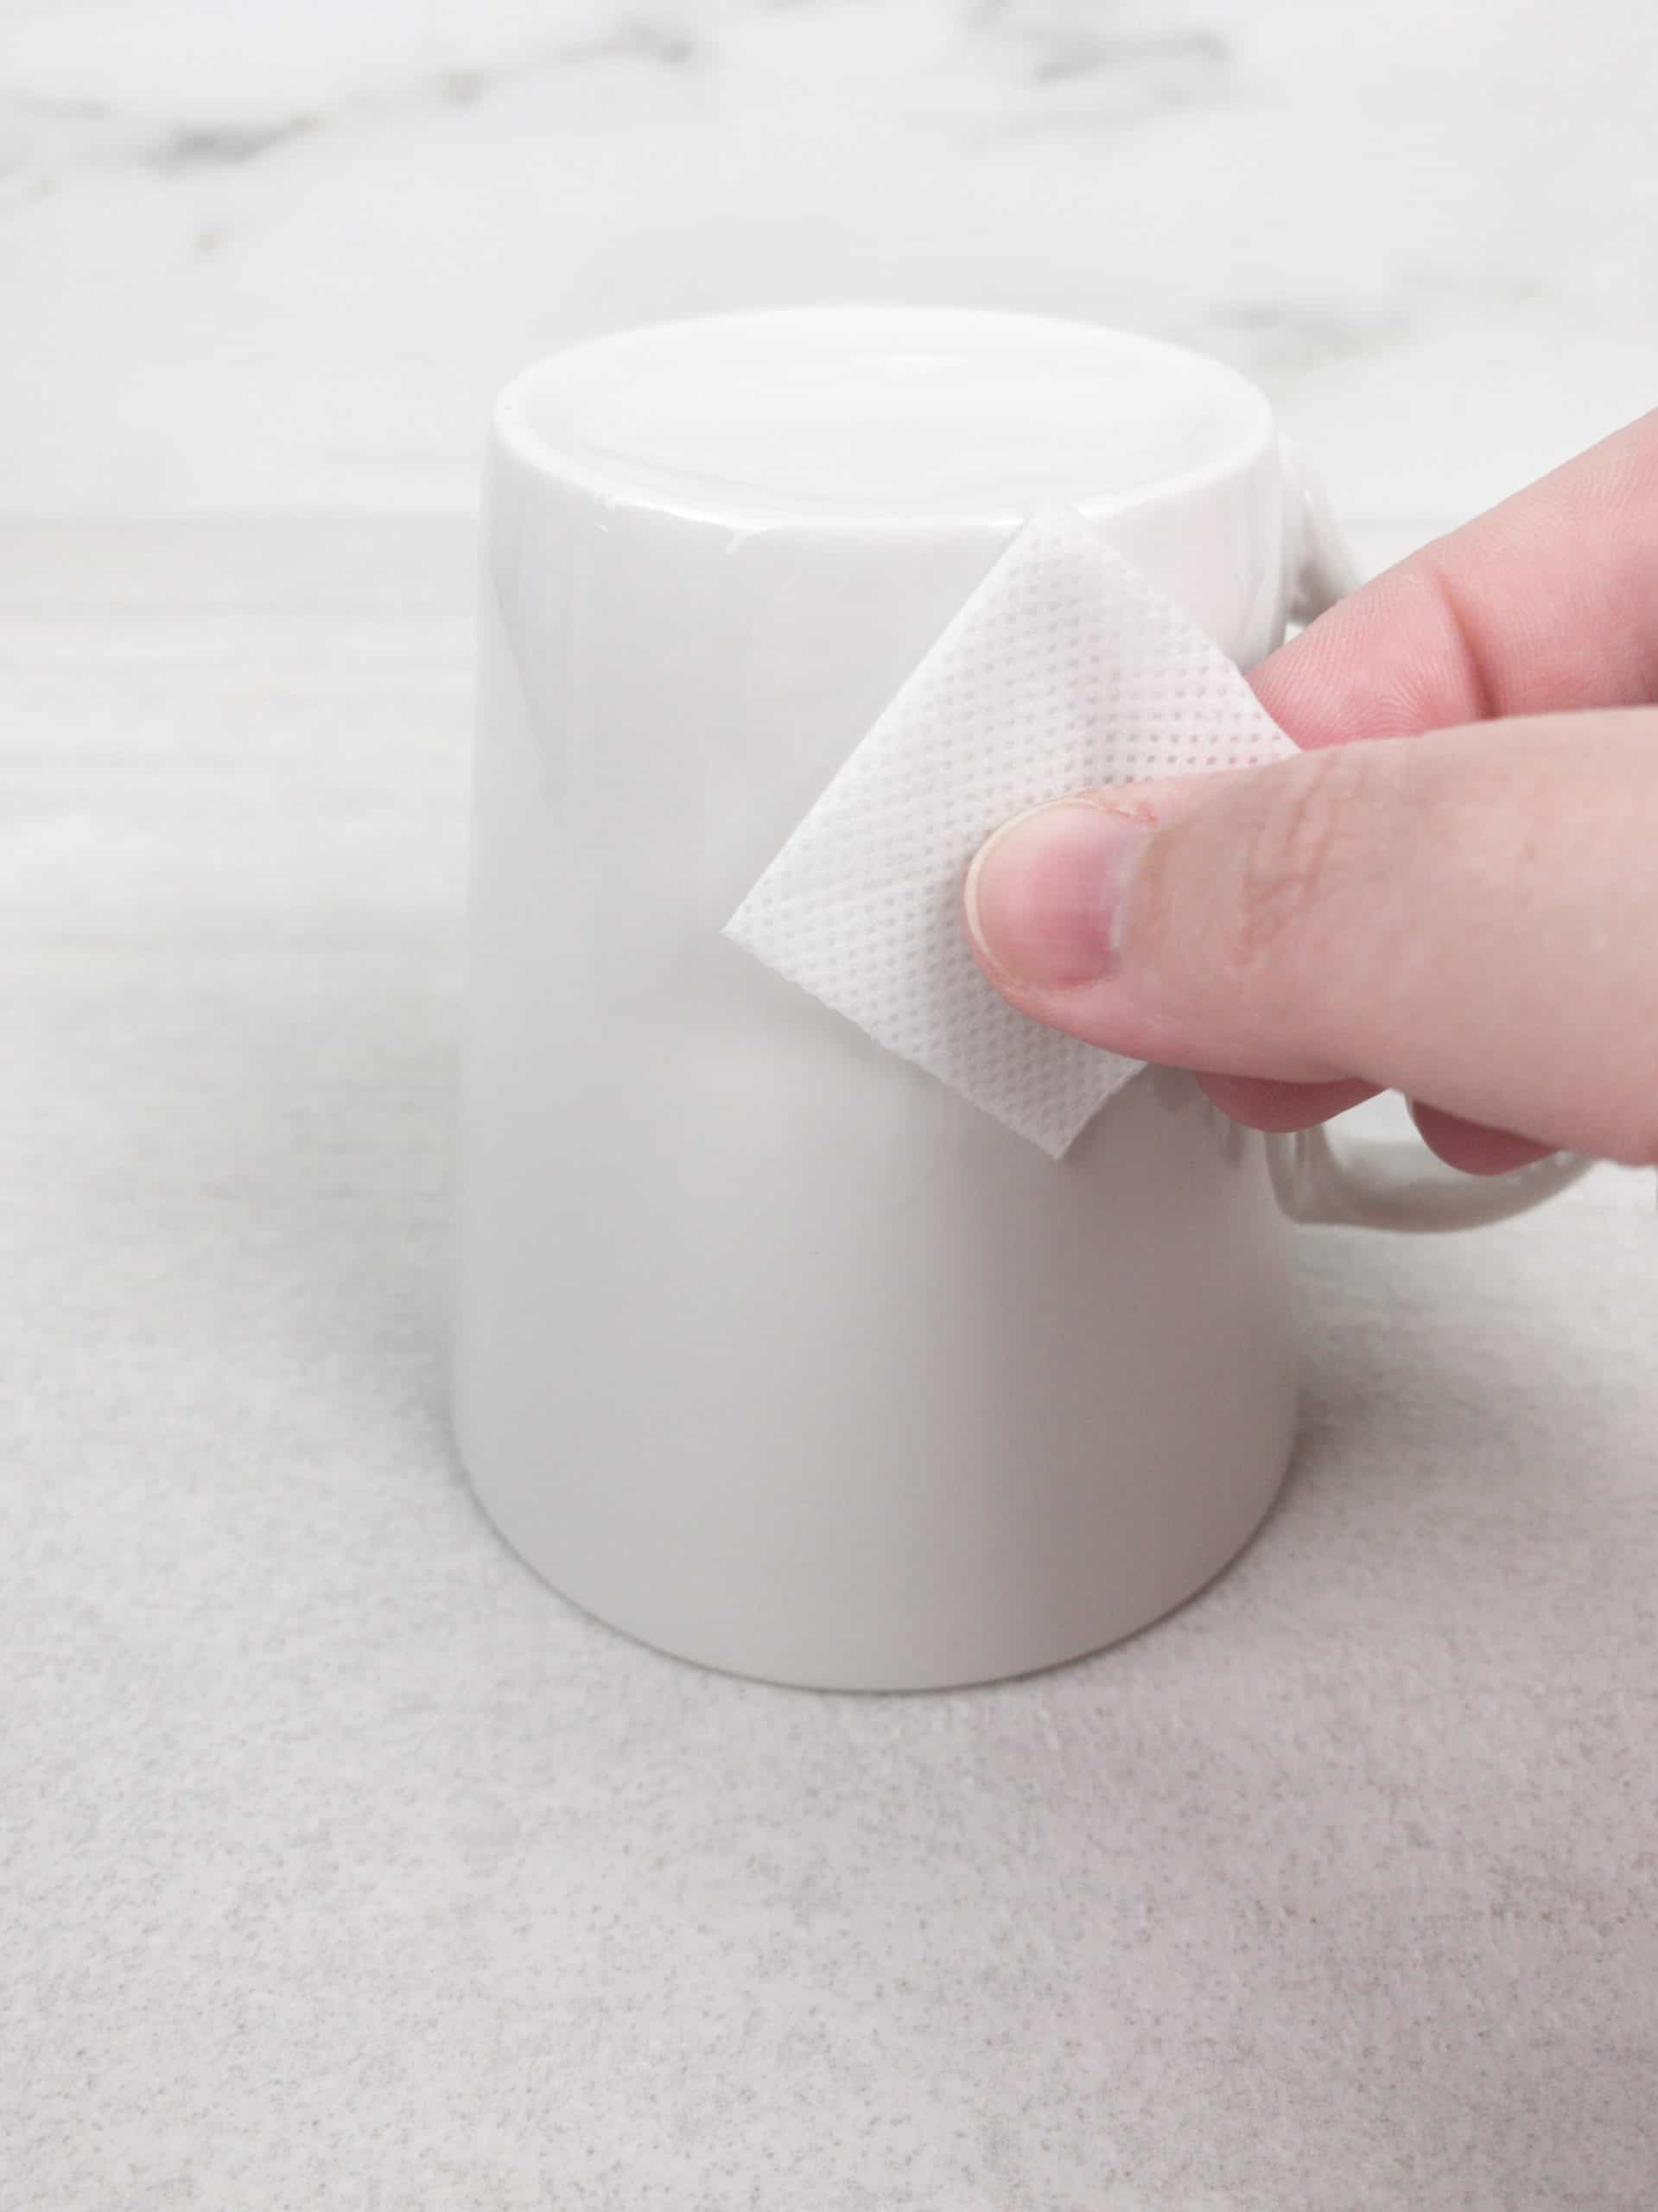
- Wipe down the exterior of the mug with the alcohol wipe to remove any dirt or oils.

- Using your Sharpie Oil Based Paint Markers, let your child draw on their mug.
- Once finished decorating the mug, place it upside down directly on the oven grate. Only then heat it to 350 degrees Fahrenheit (177 C). Important: Do not pre-heat your oven before putting the mugs inside.
- Once the 350F (177 C) temperature is reached, let your mug “bake” for 30 minutes.
- After “baking” for 30 minutes at 350F, turn off the oven and let the mugs cool down inside the oven.
- Once the oven has completely cooled, remove your mugs.

Yield: 1 mug
How to make a personalized mug for Mother's Day with markers

Active Time
5 minutes
Additional Time
30 minutes
Total Time
35 minutes
Materials
- White mug
- Sharpie OIL BASED Paint Markers
- Alcohol wipe or cotton ball with alcohol
- Oven
Instructions
- Wipe down the exterior of the mug with the alcohol wipe to remove any dirt or oils.
- Using your Sharpie OIL BASED Paint Markers, let your child draw on his/her mug.
Once finished decorating his/her mug, place it upside down directly on the oven grate AND THEN heat it to 350 degrees Fahrenheit. (Do not pre-heat your oven before putting the mugs inside). - Once the 350F temperature is reached, let your mug “bake” for 30 minutes.
- After “baking” for 30 minutes at 350F, turn off the oven and let the mugs cool down inside the oven.
- Once the oven has completely cooled, remove your mug.
Notes
Must use oil-based markers or else designs will wash away.
More Mother’s Day ideas
- Top Mother’s Day Breakfast Ideas
- Free Mother’s Day activity sheet
- Beautiful Watercolor Resist Mother’s Day Card

En español: Cómo hacer una taza para el día de las madres