Valentine’s Day Makeup Tutorial
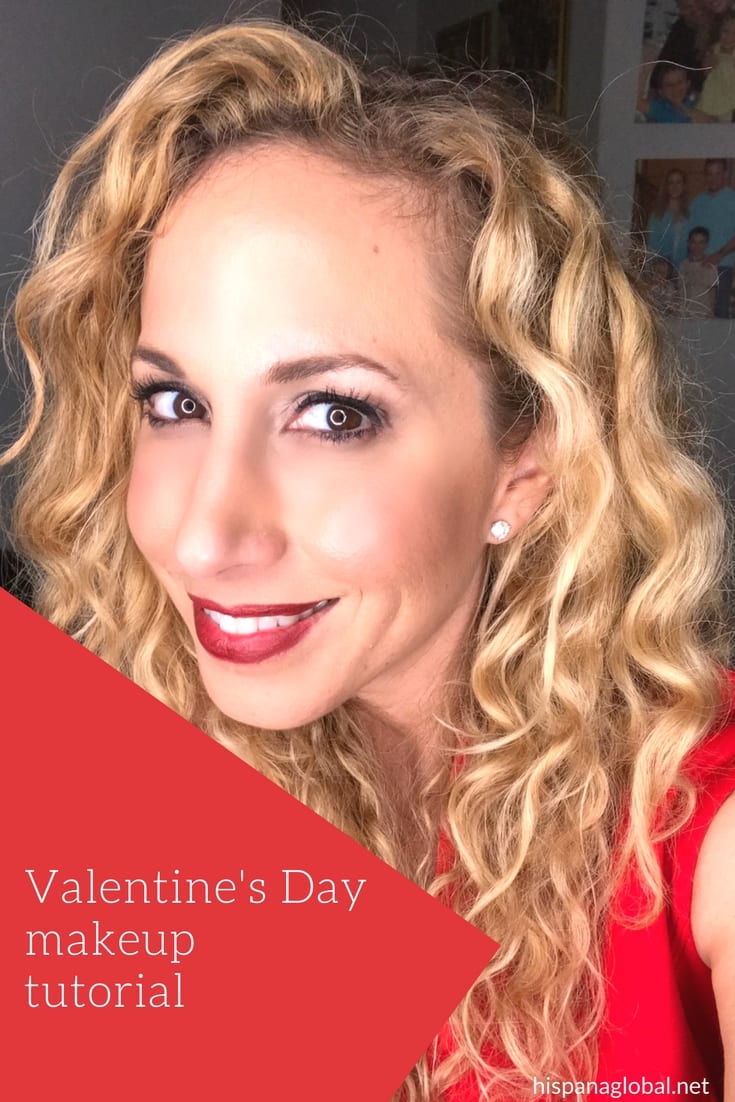
Valentine’s Day is quickly approaching, so I decided to create a makeup look that works for any romantic date. Since it’s the season for romance, red lipstick plays well into this theme. It also makes your teeth look whiter, so your smile will look even more beautiful!
Although I did highlight my eyes, I used earth tones, so the look is not too dramatic. I always remind my friends that when it comes to makeup, aim for a balance. If your lips are strong, your eyes should be softer and more on the subtle side. On the contrary, if you go for a smokey eye, leave your lips almost bare or simply apply some golden gloss.
Date night makeup tutorial for Valentine’s Day
- Cleanse and prep your skin. Moisturize your skin, apply eye cream and give your lips sobre extra TLC with and hydrating lip balm. I also recommend using a primer, both for the eyes and for the face. I’m obsessed with Urban Decay’s Eyeshadow Primer Potion. Some makeup artists love to use Jurlique and Caudalie’s facial mists to prep skin before they apply foundation. Just make sure you allow some time for it to dry.
- Use earthy tones on your eyes. Apply a bone shade to the entire eyelid using a medium size brush. With a smaller, tapered brush, apply cinnamon or medium brown (not too dark) eyeshadow to the crease. With a slanted brush, apply dark chocolate shade to the eyelash line and blend well. The idea is that there should be no demarcation. Now line your eyes, either with a dark brown pencil or with a liquid eyeliner, but make sure the line is thin. This is not a cat eye. Now apply two layers of volumizing mascara. This time I used Supra Volume from Clarins.
- Groom your brows and fill in if needed. Remember to use a pencil or powder that is the same shade or a bit lighter than your natural eyebrows. If they are usually rebellious (like mine), use a brow gel. L’Oreal Paris, Bobbi Brown, Urban Decay y Ready to Wear have excellent brow products.
- Allow your skin to glow. Apply concealer if you need it under your eyes, around your nostrils and around your lips to highlight them them. Now apply foundation only where necessary to even out your skin tone. Blend well. If you are using a cream highlighter, apply it now on the upper cheekbones and on the bridge of the nose. Now apply a bit of bronzer under the cheekbones to contour your face a bit and blend well. Finally, smile and on the apples of your cheeks, apply peachy or rosy blush, depending on your skin tone. If using powder highlighter, you can apply it after your blush.
- Red lips are a must. Before you even apply lip color, make sure your lips are hydrated and that they are smooth. Line your lips in the same color you will use, or better still, use a lip crayon (a chubby lip pencil) that you can use to line and fill your lips, like Art Stick from Bobbi Brown. I love Harlow Red and Merlot! If you won’t be using a lip pencil or crayon, apply lipstick with a lip brush, because strong colors require precise application. Pro tip: after you apply your lipstick or lip color, blot your lips using a tissue and then apply a new layer. This helps it last longer. Another option is to use a long lasting lip color, like the new Vice Liquid Lipstick from Urban Decay
 , which is waterproof and honestly does not transfer at all. However, you can’t use a lip balm or gloss on top of it, so you need to get used to your lips being a bit dry and totally matte. Honestly, it’s the longest lasting lipstick i have ever tried in my life.
 - Seal your makeup. Use a big, fluffy brush to seal your makeup with translucent loose powder. Then apply a makeup sealant; personally I’m a big fan of Urban Decay and Mary Kay’s facial mists.
Do you like this look for a romantic date? If you’re more of a natural makeup kind of gal, check out this radiant makeup tutorial I shared.
En español: Maquillaje paso a paso para San Valentín