DIY: How to make Mickey and Minnie Mouse ornaments
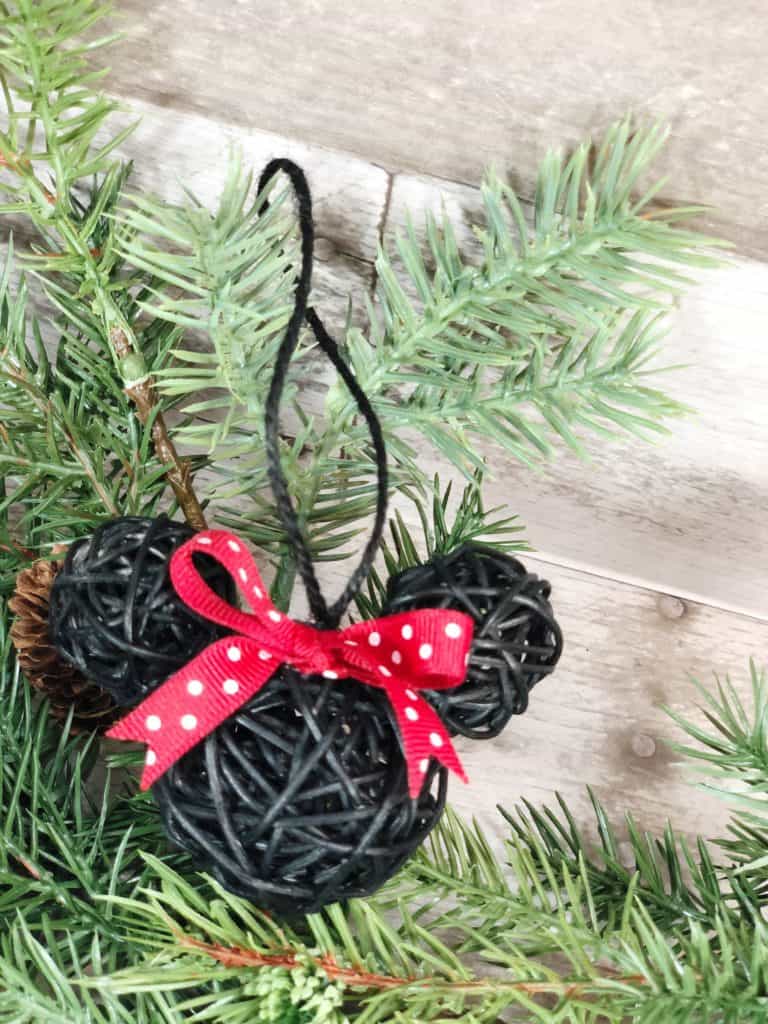
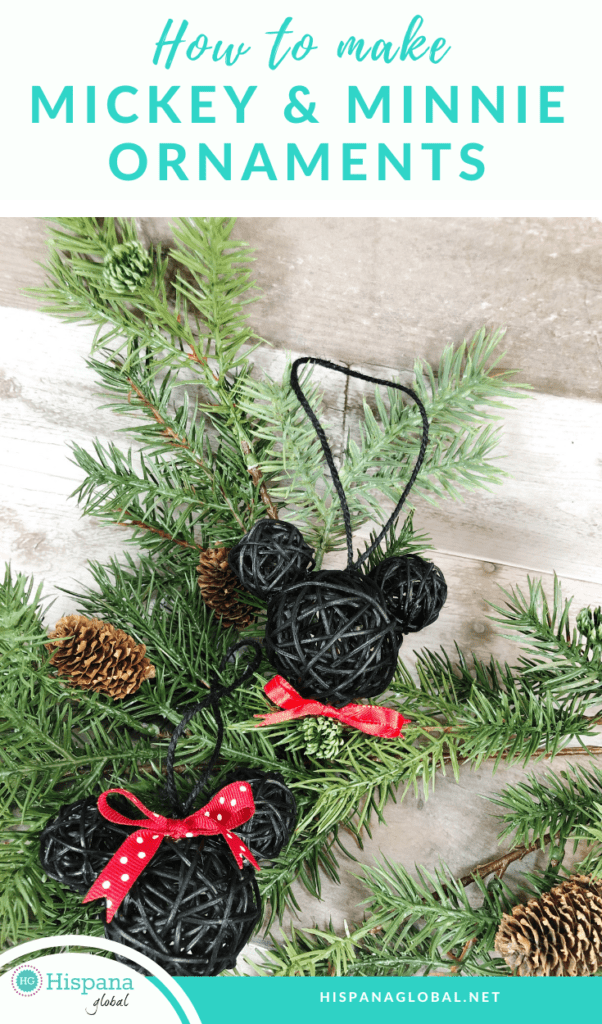
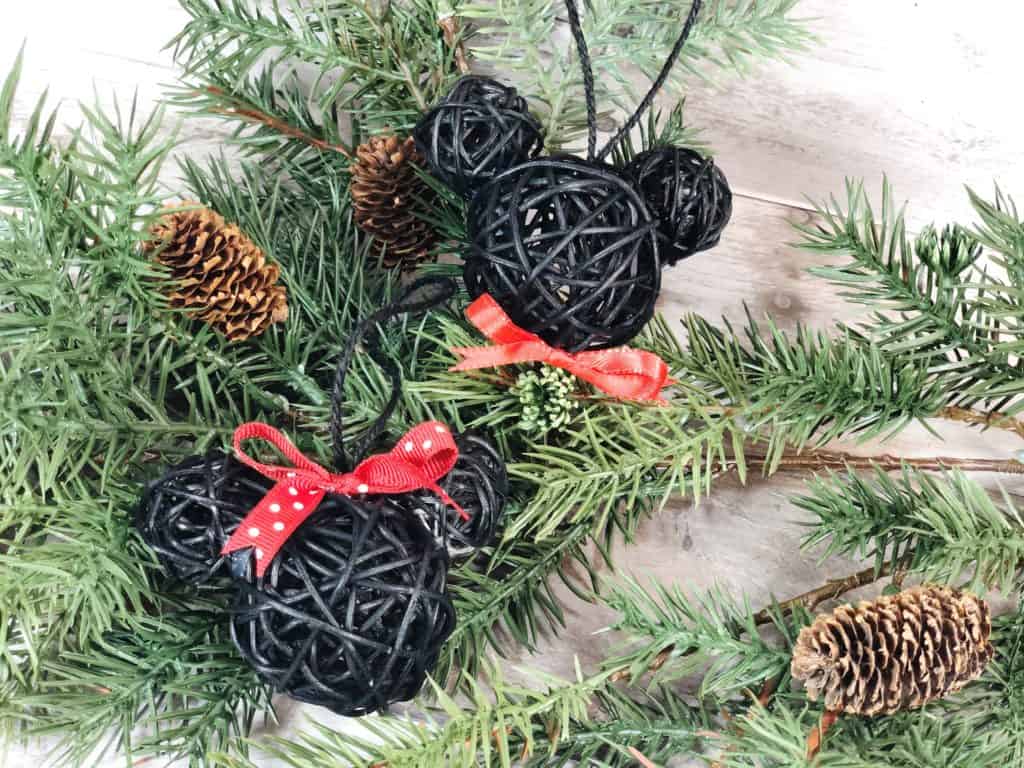 The holidays at Walt Disney World are extra magical, and this simple DIY allows you to make inexpensive Mickey and Minnie Mouse ornaments for your Christmas tree. That way you can make your tree extra festive even if you cannot make it to Disney anytime soon.
In just a few steps you can transform inexpensive woven balls into super cute ornaments. The whole process takes less than 15 minutes and the result is
How to make Mickey and Minnie Mouse Christmas ornaments
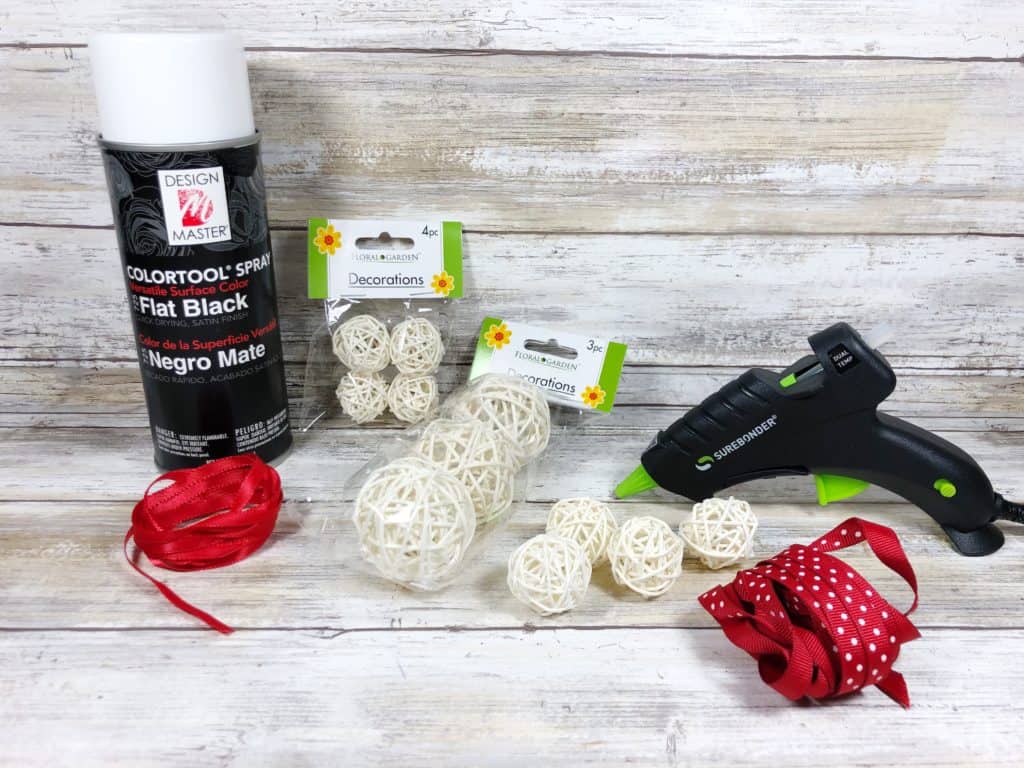
- Woven Decorative Balls, Small and Large – from a Dollar Store or Amazon
- Craft Spray Paint – Black
- Glue Gun and Glue Sticks
- Scissors
- Ruler
- Ribbon, Red and Red Polka Dot – 12” lengths
- Twine, Black – 10” lengths
- Cardboard or Newspaper
Instructions:
STEP ONE
Gather all supplies. In a well-ventilated area, or outside, cover surfaces with cardboard or newspaper.
STEP TWO
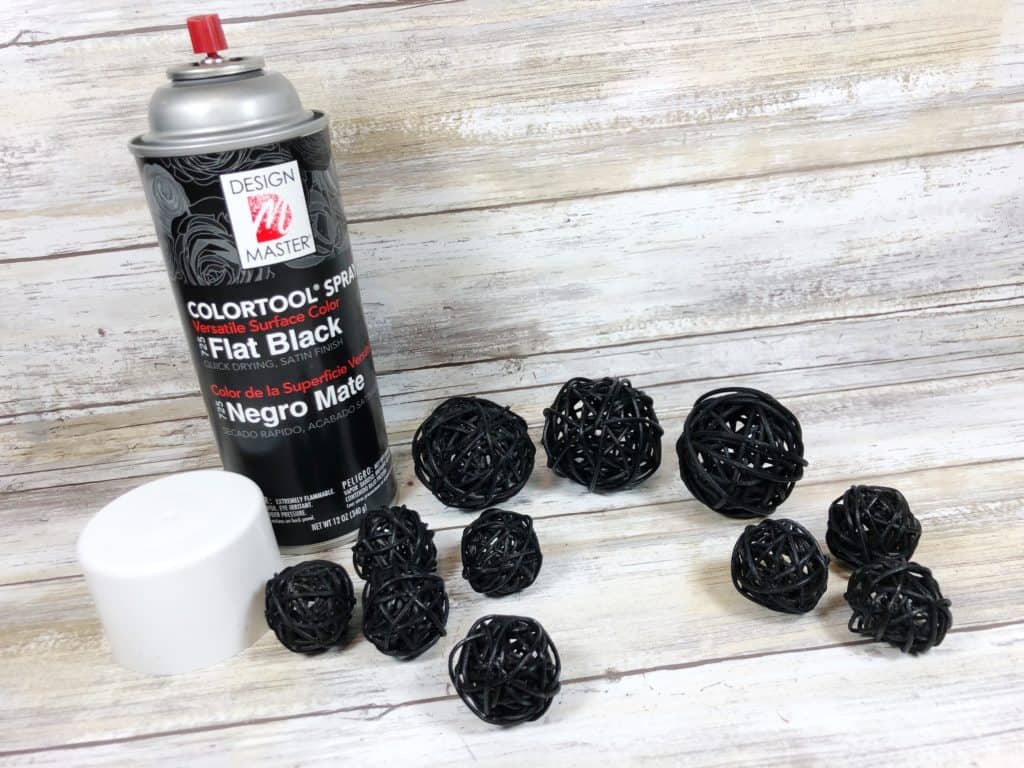
Now base coat all the woven balls with black spray paint over the cardboard or newspaper. Each ornament will require one large woven ball and two small woven balls sprayed black.
STEP THREE
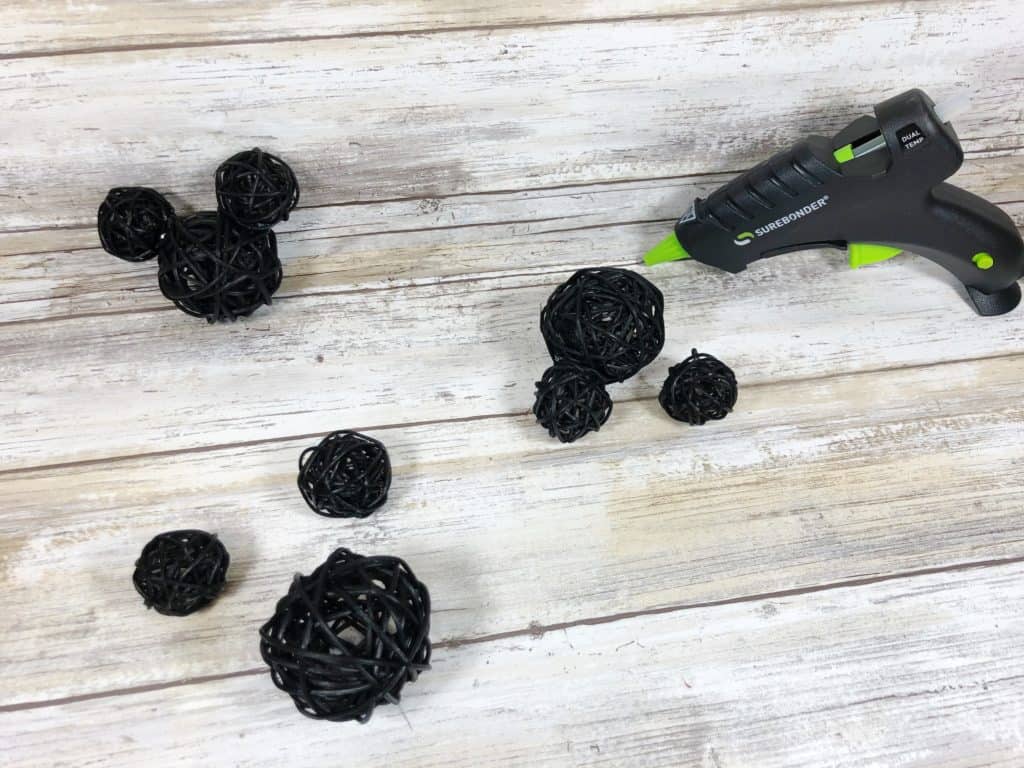
Once dry, attach the two small balls to the large ball with a glue gun and glue sticks as ears.
STEP FOUR
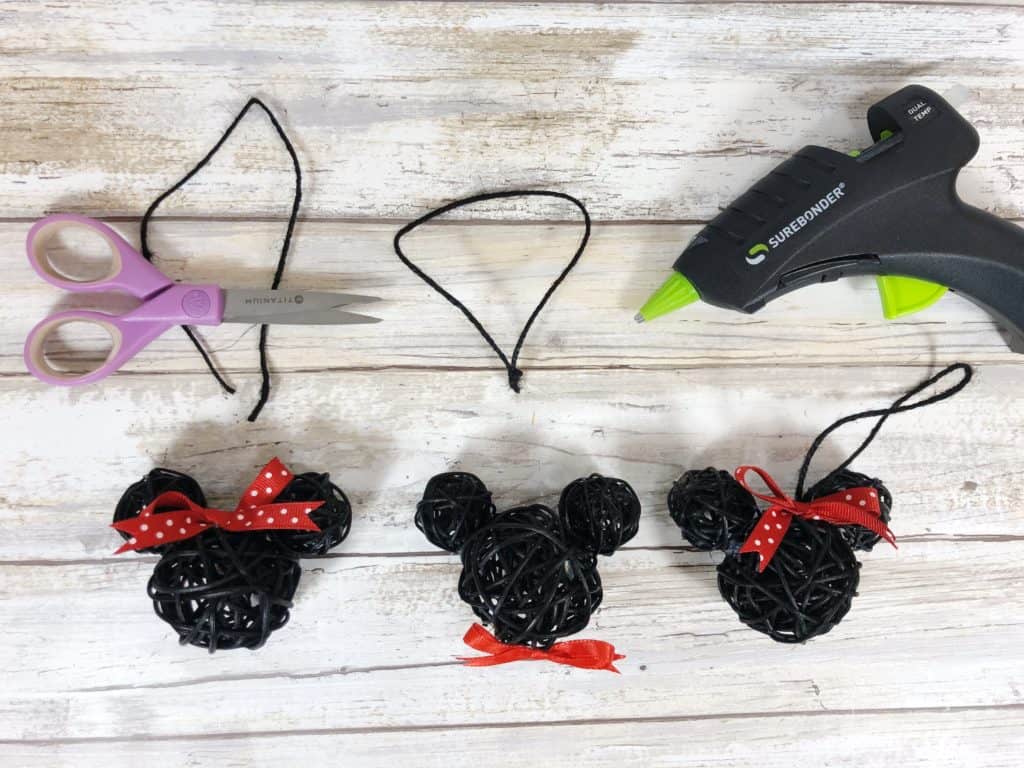
Tie red ribbon and red polka dot ribbon lengths into bows. Attach red ribbon to the base of the large ball as Mickey’s bow tie. Attach red polka dot ribbon to the top of lthe arge ball as Minnie’s hair bow. Tie black twine in a knot and glue to the top of the large ball as a hanger.
That’s it! Honestly, this fun and inexpensive craft should take less 15 minutes. It’s is so perfect for ALL the Disney lovers in your “life, especially during the holiday season.

