DIY: How To Make Watercolor Easter Eggs
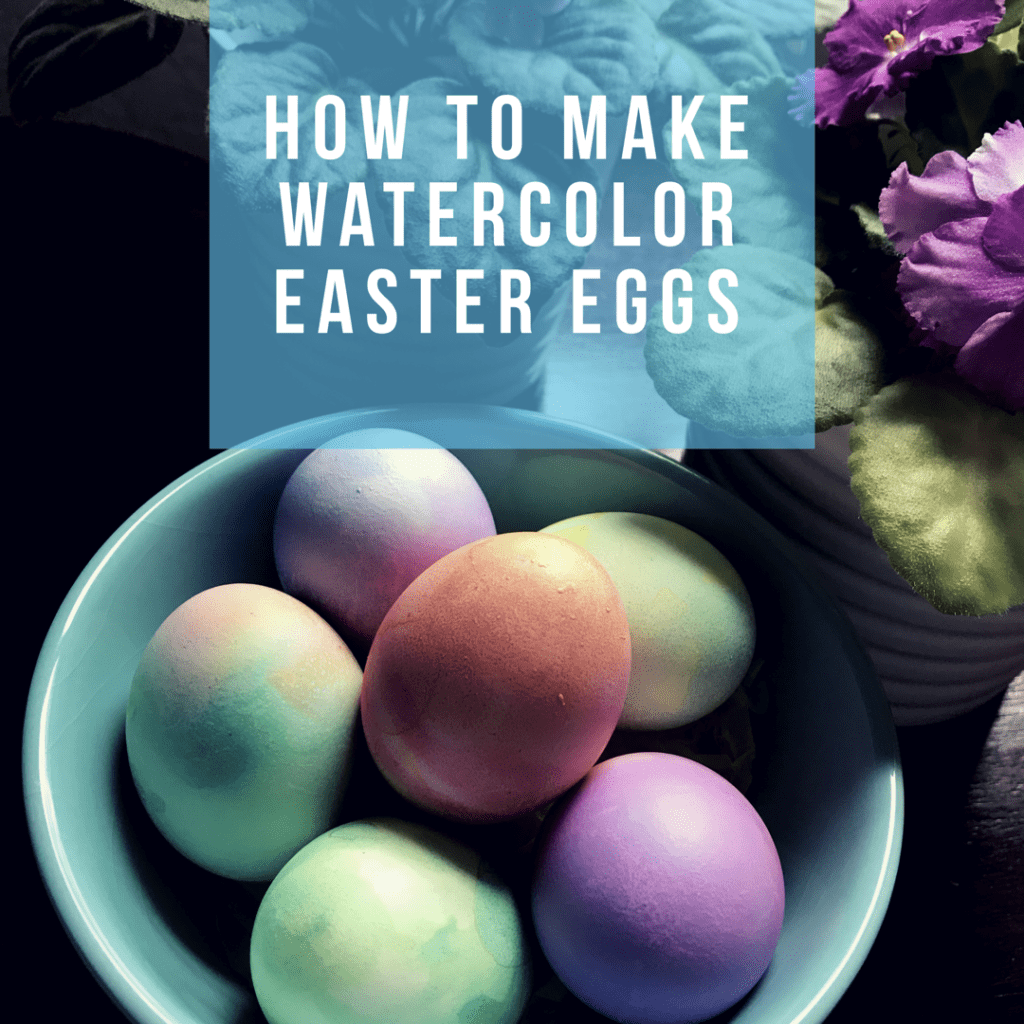
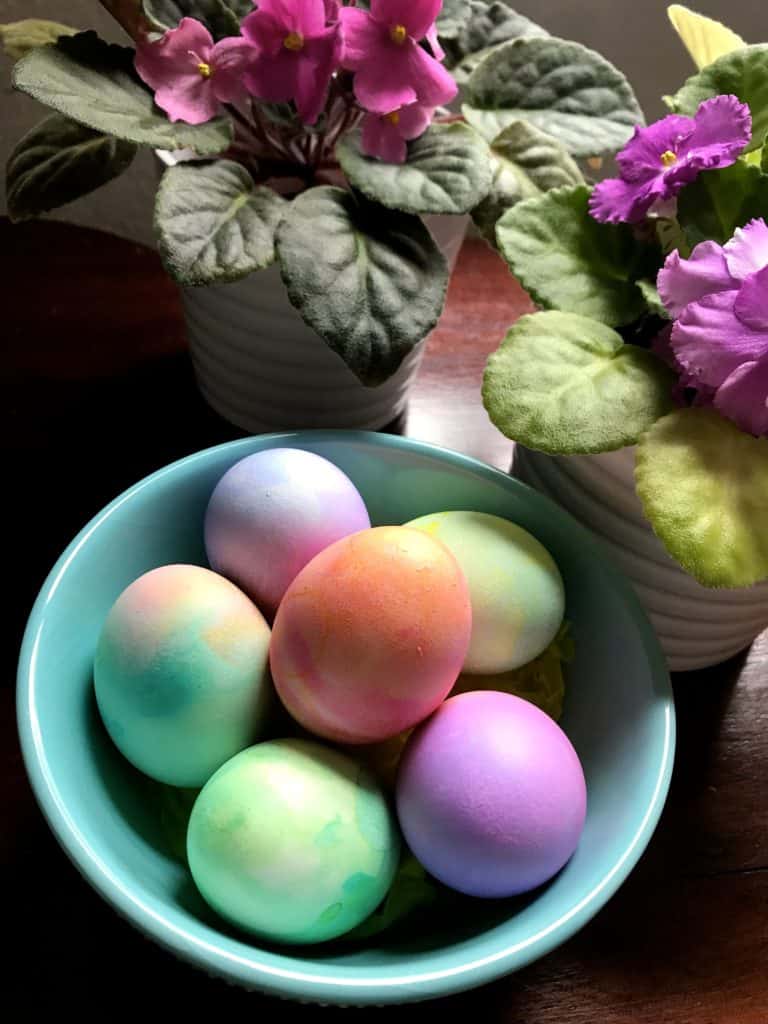
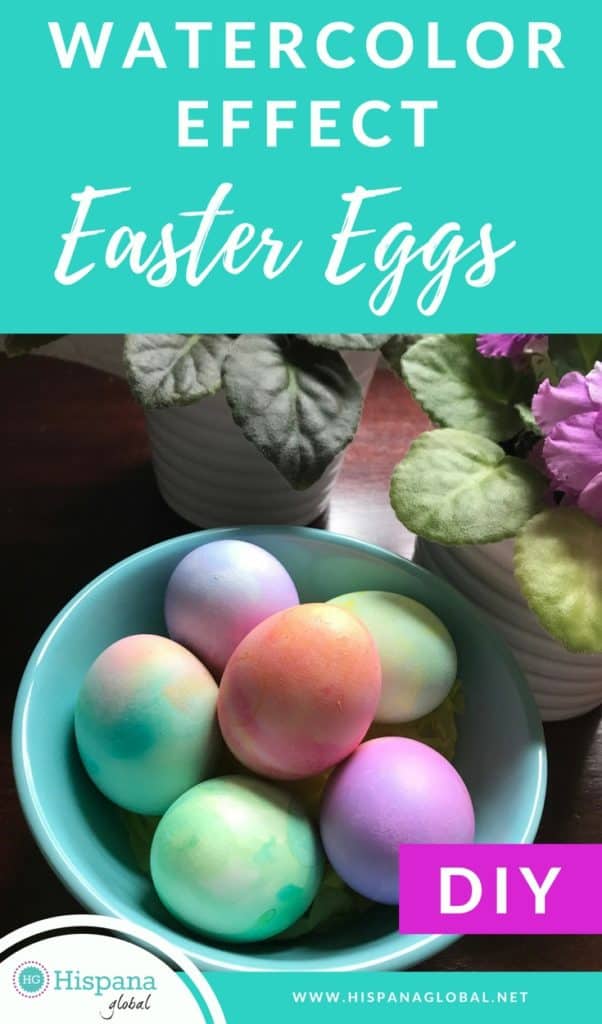
Do you know what’s the best thing about these beautiful watercolor Easter eggs? Your children can help you dye them, and second, they’re edible! Your entire family can enjoy hard-boiled eggs, deviled eggs, in a salad or simply make delicious sandwiches.
The watercolor effect is achieved with edible food coloring. You and your children will have a great time and this Easter, each egg will be a work of art.
How to make watercolor Easter Eggs
To make this edible DIY, you will need boiled eggs and food coloring. You can choose your favorite colors or ask your children what color combinations they prefer. The sky’s the limit!
Also, you will need one cup of water per color that you choose. To achieve the different shades, all you have to do is dilute the food coloring with water: the more water you add, the lighter the tone. Tip: start with the most intense color and then add more water, or play with other shades.
Another pro tip: cover the surface where you will dye the Easter eggs with a plastic tablecloth and have your children wear a plastic apron or old clothes. That way you won’t stress out if they get dirty.
Watercolor Effect Easter Eggs DIY instructions
These beautiful Easter eggs are so easy to make:
- Pre-boil eggs and then set aside at room temperature.
- Add a few drops of food coloring in ½ cup of water.
- Hold the eggs by the ends and with a teaspoon, drop a little of the colored water on top of each one, trying to allow the excess colored water to fall back into the cup.
- Continue diluting the colors with water and dyeing each egg until they look as if painted them with watercolors. Make as many color combinations as you want!
- Allow the eggs to dry on a tray. Once they dry completely, use them to decorate your Easter table.
We wish you a Happy Easter!
En español: Cómo hacer huevos de Pascua de “acuarela”
